こんにちは
今回はタイトルの通りEC2内のログをFluentdを利用してS3バケットへ保存してみました
なお、EC2の詳細な構築手順やVPCなどの作成は記載しませんので、ご了承くださいませ
■背景
インフラエンジニアにも関わらず、これまでに fluentd を利用したことがなかったので、これを機に勉強してみようと思いました
また、業務でもログ戦略を考える機会が増えてきているので、自分の中の選択肢として持てるように理解していきたいと考えたこともあります
■環境
プラットフォーム:AWS
OS:AlmaLinux9
■手順
1. S3バケットの作成
Amazon S3 > バケット > バケットを作成 を押下する
バケット名は exampl-dev-fluentd-log-bucket001 にしました
2. IAMポリシーとロールの作成
EC2からS3へのアクセスを許可する権限を付与します
※参考
ポリシー名:example-dev-ec2-to-s3-policy
ロール名:example-dev-ec2-to-s3-role
{
  "Version": "2012-10-17",
  "Statement": [
    {
      "Effect": "Allow",
      "Action": [
        "s3:ListBucket"
      ],
      "Resource": "arn:aws:s3:::exampl-dev-fluentd-log-bucket001"
    },
    {
      "Effect": "Allow",
      "Action": [
        "s3:PutObject",
        "s3:GetObject"
      ],
      "Resource": "arn:aws:s3:::exampl-dev-fluentd-log-bucket001/*"
    }
  ]
}
EC2へ作成したIAMロールを付与します
EC2 > インスタンス > 【インスタンス名】> アクション > セキュリティ > IAMロールを変更 > example-dev-ec2-to-s3-role を選択し、IAMロールの変更 を押下する
→ IAMロールの欄に選択したものが表示されていることを確認する
3. Apache のインストール
EC2にApacheをインストールし、起動します
dnf install httpd
systemctl start httpd
ログファイルは下記のようにしました
[root@ip-10-0-10-228 httpd]# pwd && ls -la
/var/log/httpd
total 12
drwx------. 2 root root   94 Apr 25 08:34 .
drwxr-xr-x. 9 root root 4096 Apr 25 07:09 ..
-rw-r--r--. 1 root root    0 Apr 25 08:34 access_log
-rw-r--r--. 1 root root  684 Apr 25 08:34 error_log
-rw-r--r--. 1 root root  400 Apr 25 08:35 test.com-access_log
-rw-r--r--. 1 root root    0 Apr 25 08:34 test.com-error_log
4. fluentd(td-agent)をのインストール
curl -fsSL https://toolbelt.treasuredata.com/sh/install-redhat-fluent-package5-lts.sh | sh
下記のように表示されればOKです
==============================
 fluent-package Installation Script
==============================
This script requires superuser access to install rpm packages.
You will be prompted for your password by sudo.
Fluentd Project                                                                                                                                                                                              10 MB/s | 633 kB     00:00
Security: kernel-core-5.14.0-611.49.1.el9_7.x86_64 is an installed security update
Security: kernel-core-5.14.0-427.28.1.el9_4.x86_64 is the currently running version
Last metadata expiration check: 0:00:01 ago on Sat 25 Apr 2026 08:55:53 AM UTC.
Dependencies resolved.
============================================================================================================================================================================================================================================
 Package                                                    Architecture                                       Version                                                 Repository                                                      Size
============================================================================================================================================================================================================================================
Installing:
 fluent-package                                             x86_64                                             5.0.9-1.el9                                             fluent-package-lts                                              15 M

Transaction Summary
============================================================================================================================================================================================================================================
Install  1 Package

Total download size: 15 M
Installed size: 68 M
Downloading Packages:
fluent-package-5.0.9-1.el9.x86_64.rpm                                                                                                                                                                       8.5 MB/s |  15 MB     00:01
--------------------------------------------------------------------------------------------------------------------------------------------------------------------------------------------------------------------------------------------
Total                                                                                                                                                                                                       8.5 MB/s |  15 MB     00:01
Running transaction check
Transaction check succeeded.
Running transaction test
Transaction test succeeded.
Running transaction
  Preparing        :                                                                                                                                                                                                                    1/1
  Running scriptlet: fluent-package-5.0.9-1.el9.x86_64                                                                                                                                                                                  1/1
  Installing       : fluent-package-5.0.9-1.el9.x86_64                                                                                                                                                                                  1/1
  Running scriptlet: fluent-package-5.0.9-1.el9.x86_64                                                                                                                                                                                  1/1
Failed to get unit file state for td-agent.service: No such file or directory
inactive

  Verifying        : fluent-package-5.0.9-1.el9.x86_64                                                                                                                                                                                  1/1

Installed:
  fluent-package-5.0.9-1.el9.x86_64

Complete!

Installation completed. Happy Logging!
td-agent の起動
systemctl start fluentd
起動確認
systemctl status fluentd
● fluentd.service - fluentd: All in one package of Fluentd
     Loaded: loaded (/usr/lib/systemd/system/fluentd.service; disabled; preset: disabled)
     Active: active (running) since Sat 2026-04-25 08:57:52 UTC; 15s ago
       Docs: https://docs.fluentd.org/
    Process: 43900 ExecStart=/opt/fluent/bin/fluentd --log $FLUENT_PACKAGE_LOG_FILE --daemon /var/run/fluent/fluentd.pid $FLUENT_PACKAGE_OPTIONS (code=exited, status=0/SUCCESS)
   Main PID: 43906 (fluentd)
      Tasks: 9 (limit: 5524)
     Memory: 93.0M (peak: 95.5M)
        CPU: 1.758s
     CGroup: /system.slice/fluentd.service
             tq43906 /opt/fluent/bin/ruby /opt/fluent/bin/fluentd --log /var/log/fluent/fluentd.log --daemon /var/run/fluent/fluentd.pid
             mq43909 /opt/fluent/bin/ruby -Eascii-8bit:ascii-8bit /opt/fluent/bin/fluentd --log /var/log/fluent/fluentd.log --daemon /var/run/fluent/fluentd.pid --under-supervisor

Apr 25 08:57:51 ip-10-0-10-228.ap-northeast-1.compute.internal systemd[1]: Starting fluentd: All in one package of Fluentd...
Apr 25 08:57:52 ip-10-0-10-228.ap-northeast-1.compute.internal systemd[1]: Started fluentd: All in one package of Fluentd.
→ active (running) になっていればOKです
5. ログの転送
それでは、ApacheのアクセスログをFluentd経由でS3へ転送してみます
まずは、デフォルトで配置されているconfファイルを無効化します
mv /etc/fluent/fluentd.conf /etc/fluent/fluentd.conf_org
下記内容でconfファイルを新規作成します
vi /etc/fluent/fluentd.conf
<source>
  @type tail
  path /var/log/httpd/test.com-access_log
  pos_file /var/log/fluent/test.com-access_log.pos
  format apache
  tag s3.apache.access
</source>

<match s3.apache.access>
  @type s3

  s3_bucket exampl-dev-fluentd-log-bucket001
  path httpd/logs/

  <buffer>
    @type file
    path /var/log/fluent/s3
    timekey 60
    timekey_wait 10s
    chunk_limit_size 256m
  </buffer>

  time_slice_format %Y%m%d%H
</match>
下記が簡単な説明です
・@type tail でログファイルの末尾から読み込んでいます
・<source> 内のpathでアクセスログのパスを指定しています
・tag で s3.apache.access を指定しており、後述の <match s3.apache.access> で指定します
・s3_bucket でバケット名を指定しています
それでは、一度 fluentd を再起動し、ログが出力されるか確認してみます
systemctl restart fluentd
systemctl status fluentd
……..これではS3バケット上にログが出力されませんでした、、、、
それでは、トラブルシューティングしてみます
・権限確認
まずは fluentd がどのユーザーで実行されているか確認してみます
[root@ip-10-0-10-228 log]# ps auxwwf | grep [f]luentd
fluentd    44035  0.0  6.3 182912 59468 ?        Sl   09:27   0:00 /opt/fluent/bin/ruby /opt/fluent/bin/fluentd --log /var/log/fluent/fluentd.log --daemon /var/run/fluent/fluentd.pid
fluentd    44038  0.2  7.6 183812 71800 ?        Sl   09:27   0:01  \_ /opt/fluent/bin/ruby -Eascii-8bit:ascii-8bit /opt/fluent/bin/fluentd --log /var/log/fluent/fluentd.log --daemon /var/run/fluent/fluentd.pid --under-supervisor
→ fluentd ユーザーになっています
次に今回転送対象の /var/lo/httpd などの権限を確認してみます
[root@ip-10-0-10-228 log]# ls -la /var/log/httpd/
total 28
drwx------.  2 root root    94 Apr 25 08:34 .
drwxr-xr-x. 10 root root  4096 Apr 25 08:55 ..
-rw-r--r--.  1 root root     0 Apr 25 08:34 access_log
-rw-r--r--.  1 root root   684 Apr 25 08:34 error_log
-rw-r--r--.  1 root root 15996 Apr 25 09:35 test.com-access_log
-rw-r--r--.  1 root root   443 Apr 25 09:08 test.com-error_log
→ test.com-access_log の権限が 644 root:root なので、otherユーザーでも読み込みはいけそうです
ただ、1階層上の /var/log/httpd ディレクトリが 700 root:root なので、下階層に移動できていない可能性があります
[root@ip-10-0-10-228 log]# ls -la /var/log/ | grep httpd
drwx------.  2 root    root        94 Apr 25 08:34 httpd
なので、ユーザーなどの権限を変更する必要がありそうです
そのうえで、 今回は httpd ディレクトリの権限を変更するのではなく、fluentd プロセスの実行ユーザーを root へ変更しました
理由としては、今後 転送対象ファイルが増加するたびに、ディレクトリ自体の権限を変更していくと、後々運用管理がめんどくさくなると感じたからです
fluentdのユニットファイルを編集します
vi /usr/lib/systemd/system/fluentd.service
[Service]
User=fluentd
Group=fluentd
↓
[Service]
User=root
Group=root
変更後、デーモンをリロードします
systemctl daemon-reload
サービスを再起動します
systemctl restart fluentd.service
実行ユーザーを確認してみましょう
[root@ip-10-0-10-228 system]# ps auxwwf | grep [f]luentd
root       44215  0.0  6.3 182912 59156 ?        Sl   09:48   0:00 /opt/fluent/bin/ruby /opt/fluent/bin/fluentd --log /var/log/fluent/fluentd.log --daemon /var/run/fluent/fluentd.pid
root       44218 62.0  7.5 164984 70600 ?        Sl   09:48   0:01  \_ /opt/fluent/bin/ruby -Eascii-8bit:ascii-8bit /opt/fluent/bin/fluentd --log /var/log/fluent/fluentd.log --daemon /var/run/fluent/fluentd.pid --under-supervisor
→ root になっているので大丈夫そうですね
それでは、何度かブラウザなどからアクセスしたのち、バケットを確認してみます
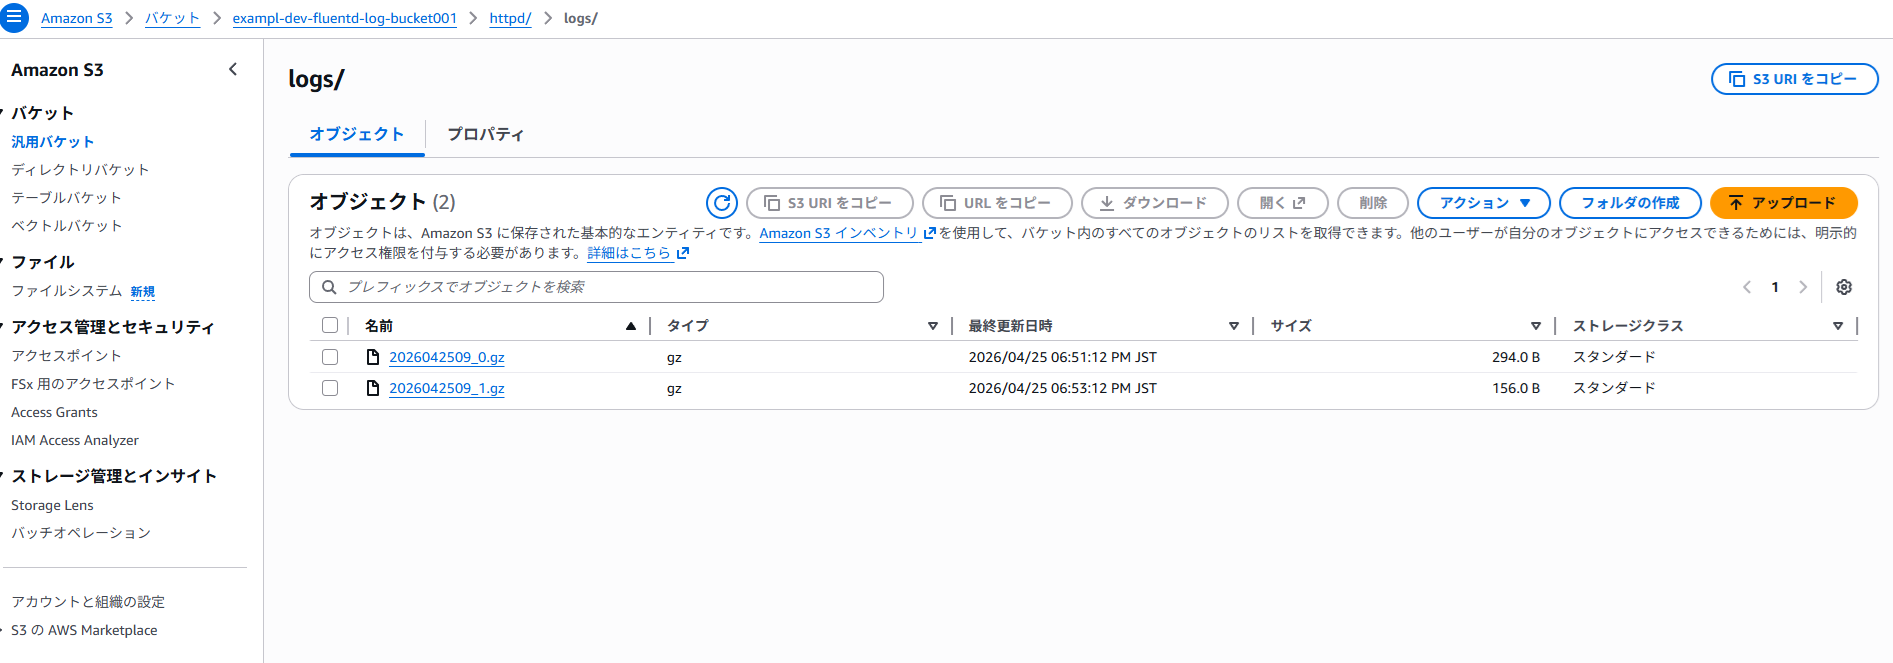
→ 転送までに少し時間がかかりましたが、無事 httpd/logs 配下にアクセスログが転送されることを確認しました
なお、おまけとして、/var/log/message のシステムログも転送してみました
vi /etc/fluent/fluentd.conf
下記内容を追記します
<source>
  @type tail
  path /var/log/httpd/test.com-access_log
  pos_file /var/log/fluent/test.com-access_log.pos
  format apache
  tag s3.apache.access
</source>

<match s3.apache.access>
  @type s3

  s3_bucket exampl-dev-fluentd-log-bucket001
  path httpd/logs/

  <buffer>
    @type file
    path /var/log/fluent/s3/apache
    timekey 60
    timekey_wait 10s
    chunk_limit_size 256m
  </buffer>

  time_slice_format %Y%m%d%H
</match>

<source>
  @type tail
  path /var/log/messages
  pos_file /var/log/fluent/syslog.pos
  format syslog
  tag s3.messages.log
</source>

<match s3.messages.log>
  @type s3

  s3_bucket exampl-dev-fluentd-log-bucket001
  path syslog/logs/

  <buffer>
    @type file
    path /var/log/fluent/s3/syslog
    timekey 60
    timekey_wait 10s
    chunk_limit_size 256m
  </buffer>

  time_slice_format %Y%m%d%H
</match>
→ <source> と <match s3.messages.log> を新設し、パスなどを適宜調整しました
なお、<buffer> 内の path はそれぞれ別のものを指定する必要があります(同じものだと起動時にエラーが出ます)
サービスを再起動します
systemctl restart fluentd.service
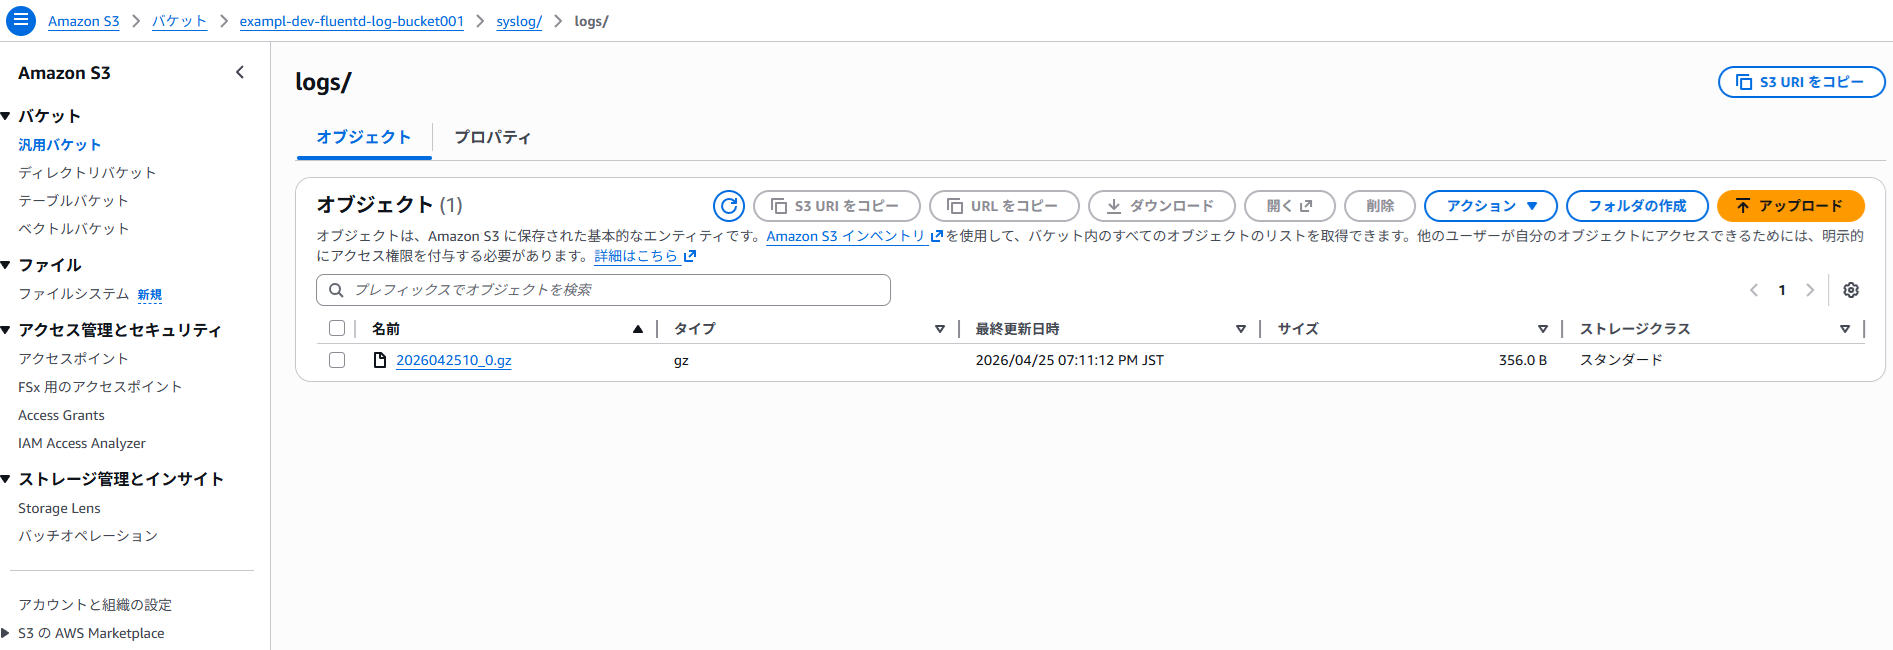
最終的にはバケットが下記のようになりました
■最後に
いかがでしたでしょうか
気づいたらかなり長い記事となってしましたが、プロセスの実行ユーザーを変更する必要があるなどのはまりポイントを学ぶことができてよかったです
また、これまで地味に fluentd をがっつり触ったことがなく、若干の恐怖心もあったのですが、今回勉強できてかなり自信がつきました
次は、コンテナのログを転送するなどもやってみたいと思います